Search Blog
Recent Posts
-
 Perché dovresti creare un...
Apr 18, 2025 Maggiori informazioni
Perché dovresti creare un...
Apr 18, 2025 Maggiori informazioni -
 Apr 16, 2025 Maggiori informazioni
 -
 Apr 10, 2025 Maggiori informazioni
 -
 Recupera le tue vendite...
Apr 8, 2025 Maggiori informazioni
Recupera le tue vendite...
Apr 8, 2025 Maggiori informazioni -
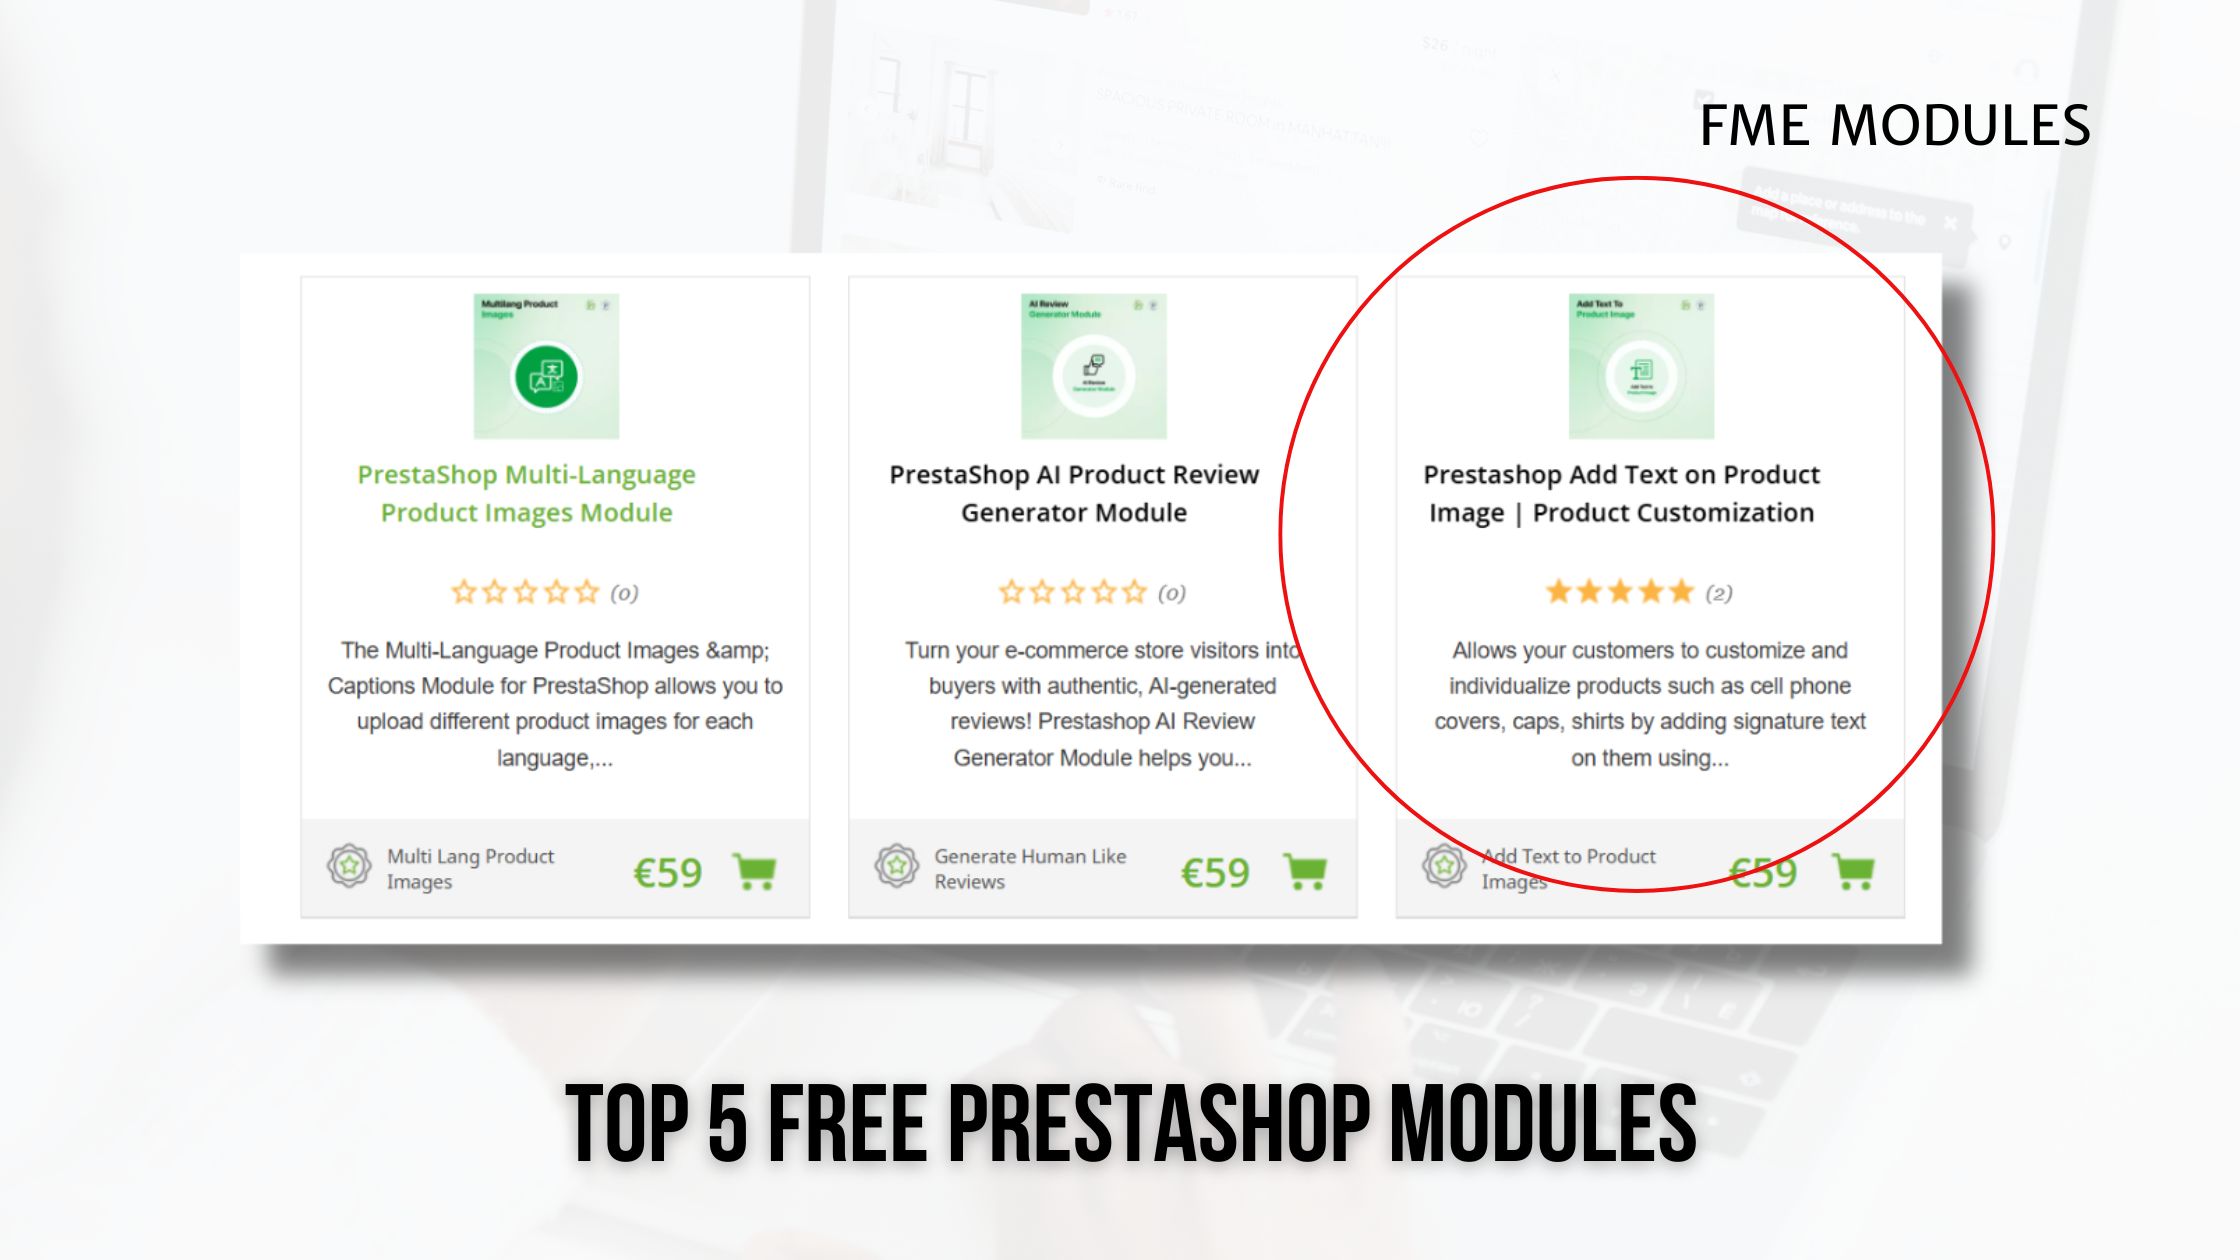 5 moduli Prestashop...
Questo blog post riguarda i migliori 5 moduli Prestashop gratuiti che un e-commerce deve provare 5 moduli.
Mar 28, 2025 Maggiori informazioni
5 moduli Prestashop...
Questo blog post riguarda i migliori 5 moduli Prestashop gratuiti che un e-commerce deve provare 5 moduli.
Mar 28, 2025 Maggiori informazioni

Come espandere senza problemi i moduli di registrazione dei clienti in Prestashop

Posted On: May 8, 2023
Categories: Ottimizzazione delle conversioni
Potresti perdere una percentuale elevata di potenziali clienti perché il tuo negozio e-commerce non riesce a offrire un’esperienza personalizzata. Puoi incolpare il modulo di registrazione predefinito di un negozio Prestashop per questo, poiché ha solo pochi campi per raccogliere informazioni di base, insufficienti per migliorare l'esperienza del cliente o aumentare le vendite.
Quindi, come puoi risolvere questo problema? Ovviamente, ampliando il modulo di registrazione per raccogliere più informazioni dai potenziali clienti. Puoi quindi utilizzare questi dati per pubblicizzare offerte specifiche a diversi gruppi di clienti e personalizzare l'intera esperienza di acquisto, una strategia efficace per aumentare le conversioni.
In questo post del blog, discuteremo due modi per espandere il modulo di registrazione del tuo negozio Prestashop. Il primo è tramite il metodo di codifica, per il quale avrai bisogno di uno sviluppatore, mentre il secondo è utilizzando il modulo FME Prestashop Registration Form, che non richiede conoscenze di programmazione.
Codificare o installare il modulo di registrazione Prestashop?
Se vuoi evitare la codifica per espandere il modulo predefinito, installare il modulo FME Custom Registration è la soluzione migliore. Anche se ti occupi di codifica ma preferisci non perdere tempo a risolvere il problema dell’espansione del modulo di registrazione, utilizzare il modulo è la scelta ideale per aumentare il coinvolgimento e Vendite Prestashop.
Puoi anche ottenere il nostro modulo Campi di registrazione personalizzati da Prestashop ufficiale store.
Espansione dei campi di registrazione Prestashop con codice
Step 1: Start modifying the ps_customer table by adding columns with the name of new_field and
new_field_mandatory. Edit classes/form/CustomerFormatter.php
Step 2: Navigate to phpMyAdmin and run this SQL command:
ALTER TABLE ps_customer ADD COLUMN new_field VARCHAR(250);
ALTER TABLE ps_customer ADD COLUMN new_field_mandatory VARCHAR(250);
Step 3: Move to CustomerFormatter class to edit as it leads to display the fields on the PrestaShop registration form.
Search: $format['email']
Add before:
$format['new_field'] = (new FormField)
->setName('new_field')
->setLabel(
$this->translator->trans(
'New field', [], 'Shop.Forms.Labels'
)
)
;
$format['new_field_mandatory'] = (new FormField)
->setName('new_field_mandatory')
->setLabel(
$this->translator->trans(
'New Field Mandatory', [], 'Shop.Forms.Labels'
)
)
->setRequired(true)
;
Here, you get the ease of changing the placement of new fields where suitable.
Step 4: Modify classes/Customer.php
Create new columns to expand the customer model. Configure validation and mark the field mandatory as well.
Search for:
public $groupBox;
Add after:
public $new_field;
public $new_field_mandatory;
Search:
'table' => 'customer',
'primary' => 'id_customer',
'fields' => array(
Add after:
'new_field' => array('type' => self::TYPE_STRING),
'new_field_mandatory' => array('type' => self::TYPE_STRING, 'required' => true),
Step 5: Save the Changes to review them on the PrestaShop customer registration form. Find if the newly created fields appear with the names New Field and New Field Mandatory.
These changes will also reflect in the information section of the customer accounts already created in the store. They can provide information now.
Step 6: Log in to the back office of your PrestaShop store. Click Customer Settings.
Edit Admin Customers Controller with the new fields.
Search:
array(
'type' => 'text',
'prefix' => '',
'label' => $this->trans('Email address', array(), 'Admin.Global'),
'name' => 'email',
'col' => '4',
'required' => true,
'autocomplete' => false
),
Add after:
array(
'type' => 'text',
'label' => $this->trans('New field', array(), 'Admin.Global'),
'name' => 'new_field',
'col' => '4',
),
array(
'type' => 'text',
'label' => $this->trans('New field mandatory', array(), 'Admin.Global'),
'name' => 'new_field_mandatory',
'required' => true,
'col' => '4',
),
Go to the PrestaShop customer registration form and the fields may appear.
Step 7: Edit the Customers Page using
adminXXX/themes/default/template/controllers/customers/helpers/view/view.pl
Search:
{l s='Age'}
{if isset($customer->birthday) && $customer->birthday != '0000-00-00'} {l s='%1$d years old (birth date:
%2$s)' sprintf=[$customer_stats['age'], $customer_birthday]} {else} {l s='Unknown'} {/if}
Add after:
{l s='New field'}
{if isset($customer->New_field)} {$customer->New_field} {else} {l s='Unknown'} {/if}
{l s='New field mandatory'}
{if isset($customer->New_field_mandatory)} {$customer->new_field_mandatory} {else} {l s='Unknown'}
{/if}
Save and the fields will display.
Step 8: Expand Fields to the Customer table in the back office.
To make the newly created fields appear in the customer table, you need to edit Admin Customers Controlled with the fields. Modify controllers/admin/AdminCustomersController.php
Search:
'email' => array(
'title' => $this->trans('Email address', array(), 'Admin.Global')
),
Add after:
'new_field' => array(
'title' => $this->trans('New field', array(), 'Admin.Global')
),
'new_field_mandatory' => array(
'title' => $this->trans('New field mandatory', array(), 'Admin.Global')
),
Search:
) as connect
Add after:
,new_field, new_field_mandatory
Save the file and review the new columns.
Step 9: Move changes to override. Copy files. Replace in Destination files. Purge Cache.
This way, you will be able to expand the registration form in PrestaShop 1.7. It is cost-effective but complex and vulnerable to bugs too. Installing a plugin or module seems to be a more hassle-free technique. Learn it in the following tutorial.
Espansione con un modulo di registrazione del cliente
The PrestaShop registration form is a purpose-built module that allows you to expand the sign-up form with additional fields and options with a few clicks. It helps you acquire relevant and accurate information about potential customers the moment they register for an account. you can add as many fields as you want to know their interests.
The module supports several field types to help you create easy-to-answer options. These include dropdown, multi-select, radio button, Yes/No option, date, text area, and message only. Using dependable fields, you can hide additional options as they appear when a condition in its preceding field is fulfilled.
Besides these core features, there are plenty of other useful options to expand the registration form without writing a single line of code. Follow the steps to install the app and start customizing customer registrations in PrestaShop.
Step 1: Download and install the module, and you will get a new section in the dashboard named Registration Fields.
Step 2: Click Manage Registration Fields to create new options and manage them from a central dashboard.
Step 3: Click the + sign labeled as ‘Add New Field.’
Step 4: Write a field name
Step 5: Specify field size (applicable to text and text area fields only)
Step 6: Add a field to a block of options
Step 7: Select field type.
The PrestaShop customer registration module helps you select an option type that relates to the question or query. Ask for a detailed answer in the text area or a short one in the text field. Try these field types:
- Text field
- Text area
- Date
- Yes/No
- Multi-selec
- Dropdown
- Checkboxes
- Radio button
- Image
- Attachment
- Message (Display Only)
Step 8: Implement field validation to ensure accuracy in data collection through registration forms. You can validate fields by:
- Decimals
- Integers
- Email address
- Web URL address
- Letters only
- Letters and/or numbers
- Date
Step 9: Mark the field mandatory and customers won't be able to register without answering the option. It is useful in collecting important information about customers.
Step 10: Create dependent fields.
Make one field dependent on another. For example, you can make a kid's field dependent on the marital status field. If the customer selects married, the kid's field will appear, otherwise, it won't.
Click Save and you have successfully created a field. Repeat this simple process to add more fields.
Note: If you want to customize your product page by adding custom fields only to your product's page, you can use the Prestashop custom product fields module. This module works specifically on your Product's detail page.
Porta via
Il modulo di registrazione PrestaShop necessita di miglioramenti e funzionalità aggiuntive rilevanti per un'azienda. Confrontando i metodi sopra descritti per espandere il modulo di registrazione, possiamo dire che l'utilizzo di un modulo è il più semplice. Offre l'aggiunta di diversi tipi di campo oltre ad altre utili funzionalità.
Products Related To This Post
-
 Prestashop Select Customer...
Prestashop Select Customer Group at Registration...
-
 Prestashop Convalida i...
Prestashop Validate New Users at Registration...
-
 Modulo di registrazione B2b...
Semplifica il processo di onboarding con il modulo...
-
 Campi di registrazione...
Il modulo di registrazione PrestaShop trasforma il...