Search Blog
Recent Posts
-
 How File Upload Features...
Learn how file upload functionality in PrestaShop enhances customer experience by enabling personalization, reducing...
Dec 9, 2025 Read more
How File Upload Features...
Learn how file upload functionality in PrestaShop enhances customer experience by enabling personalization, reducing...
Dec 9, 2025 Read more -
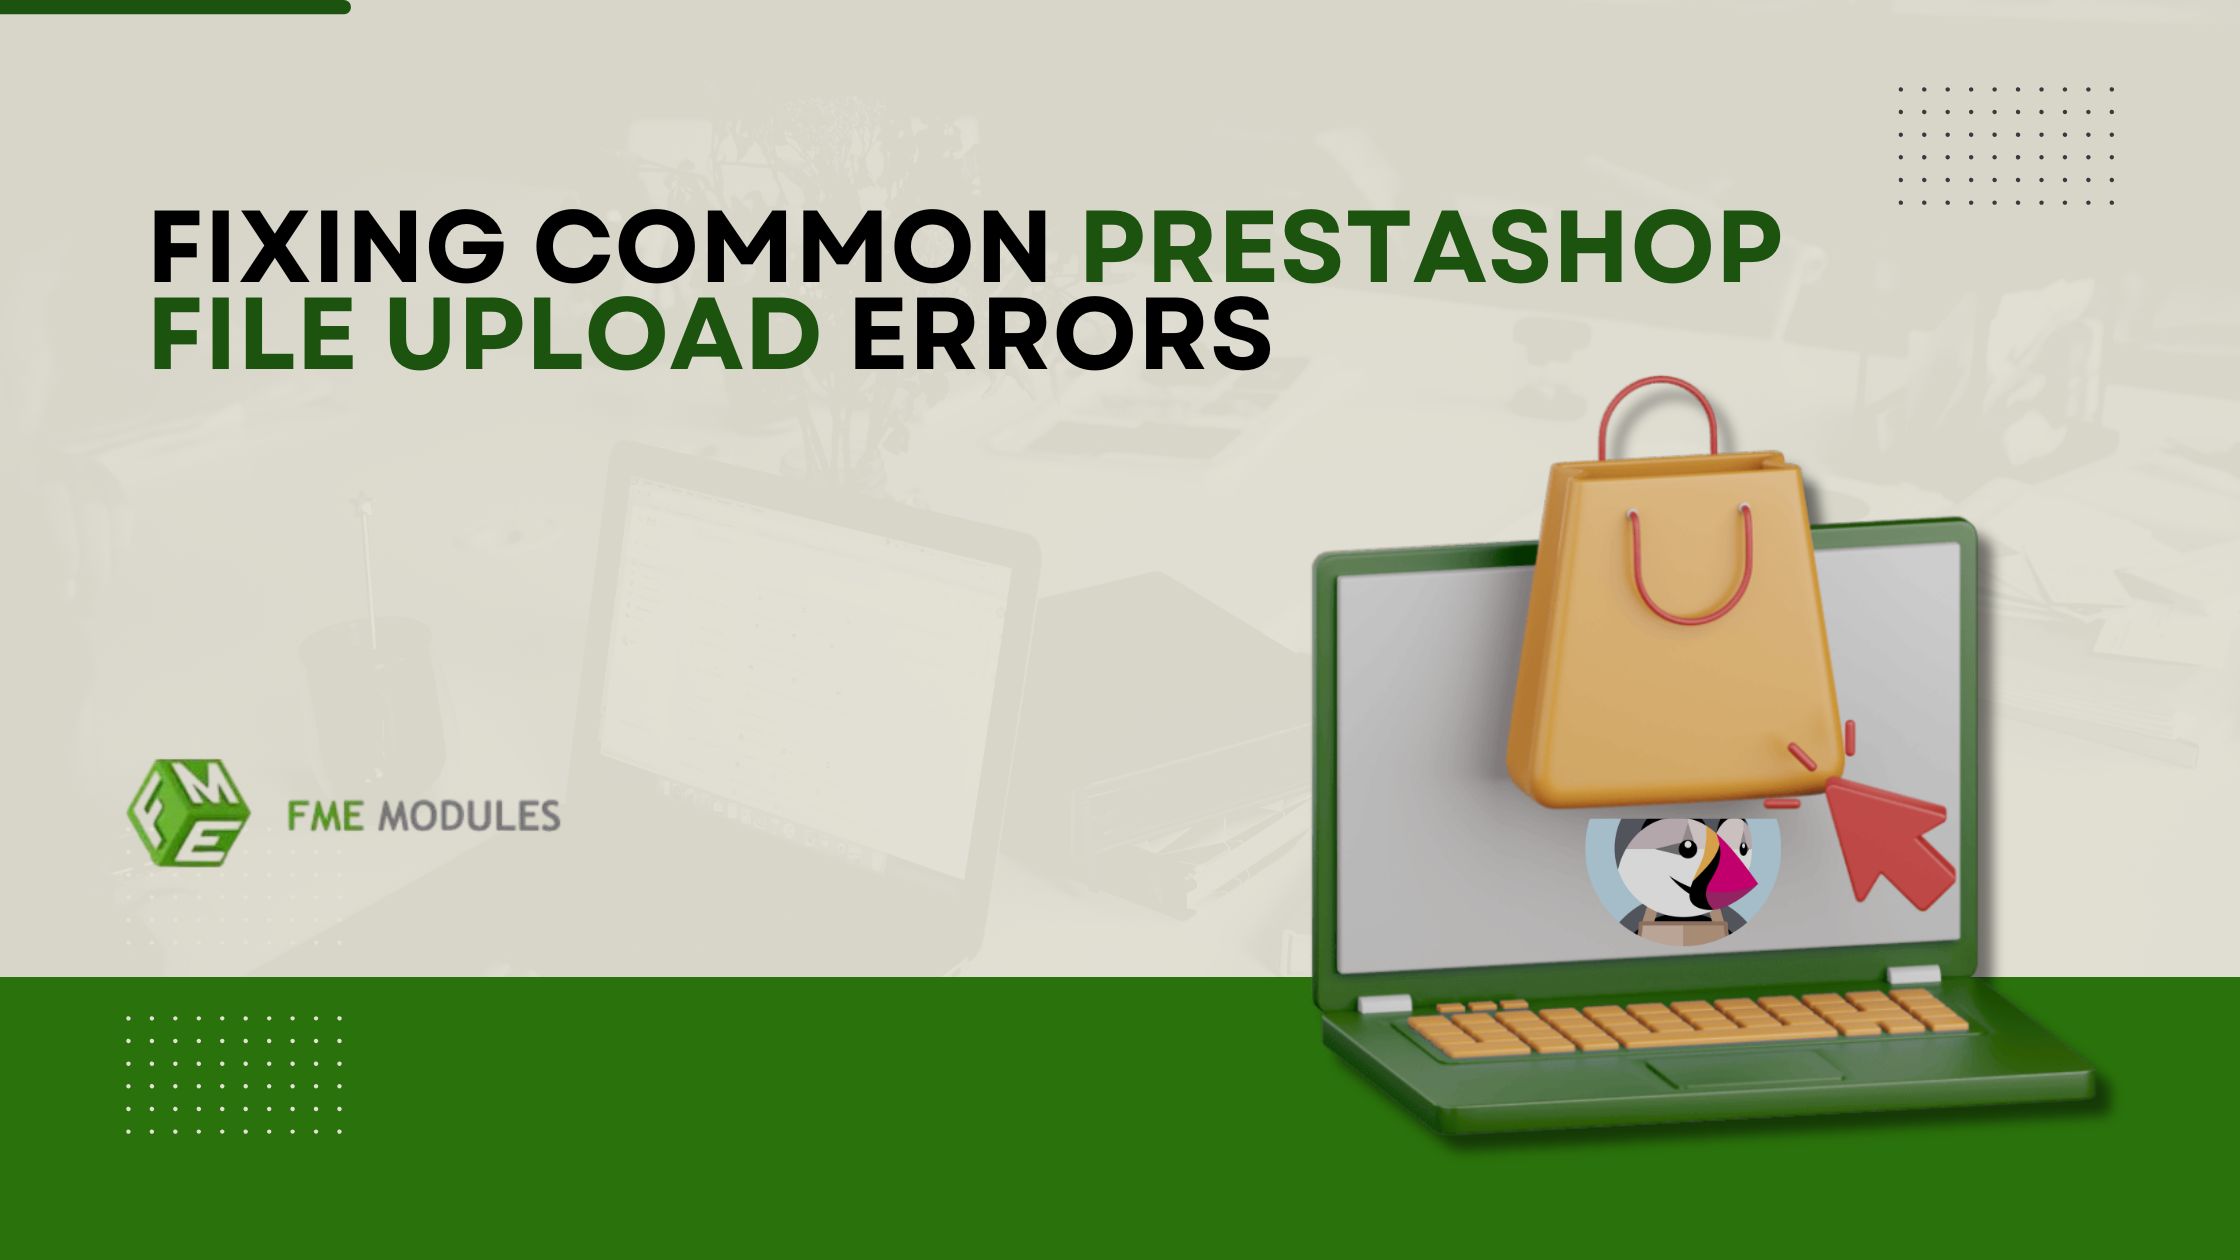 Fixing Common PrestaShop...
This guide explains common PrestaShop file upload errors, their causes, and step-by-step fixes. Ideal for merchants...
Dec 9, 2025 Read more
Fixing Common PrestaShop...
This guide explains common PrestaShop file upload errors, their causes, and step-by-step fixes. Ideal for merchants...
Dec 9, 2025 Read more -
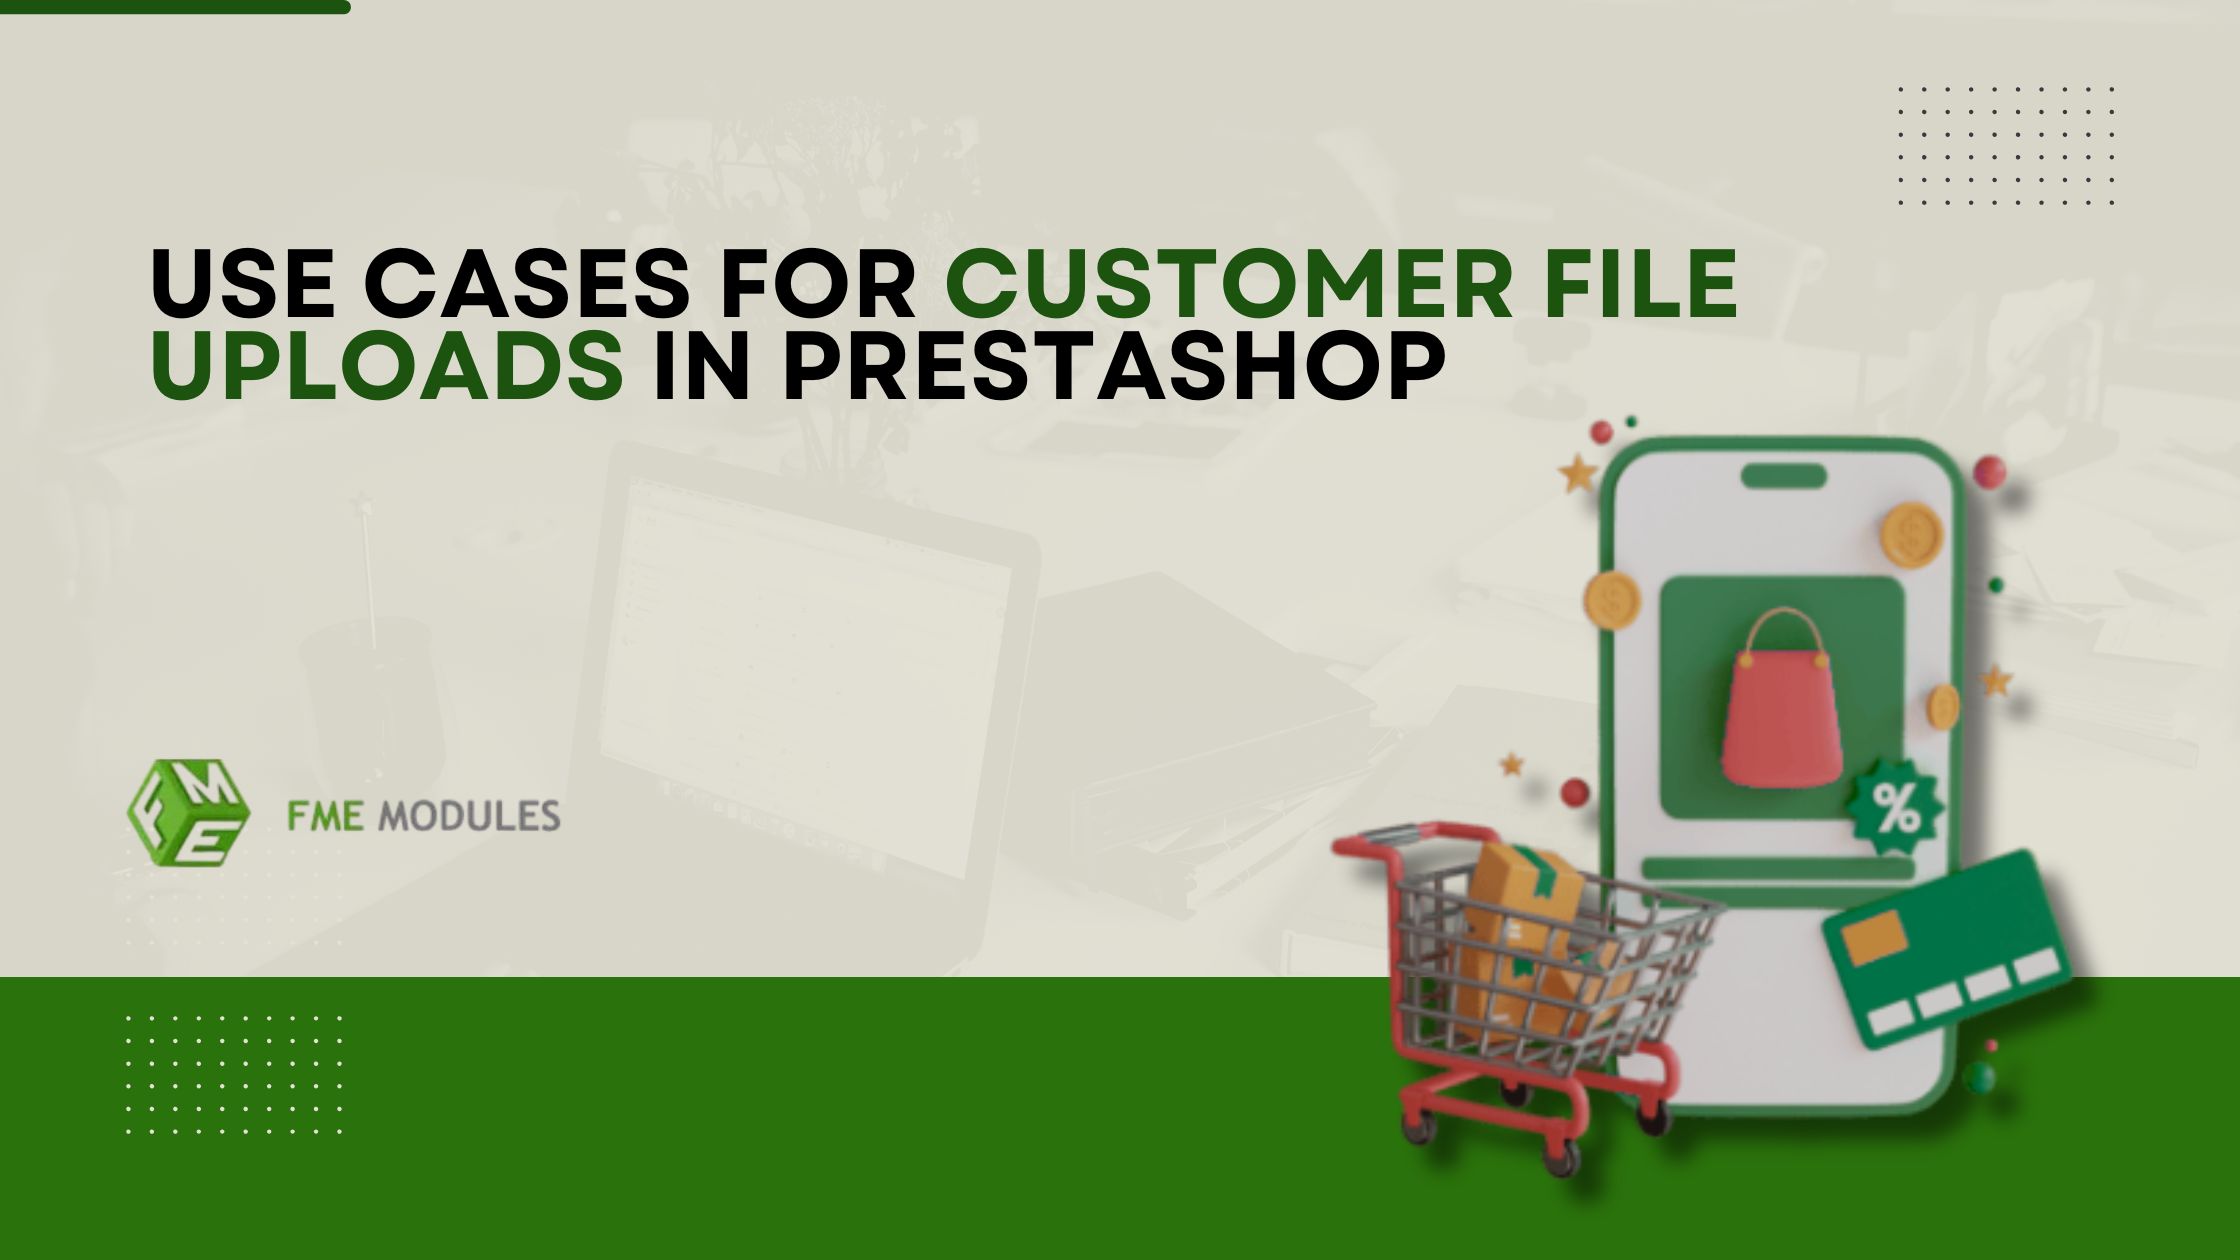 Top Use Cases for Customer...
Explore how PrestaShop stores benefit from customer file uploads, enabling shoppers to submit images, logos, and...
Dec 9, 2025 Read more
Top Use Cases for Customer...
Explore how PrestaShop stores benefit from customer file uploads, enabling shoppers to submit images, logos, and...
Dec 9, 2025 Read more -
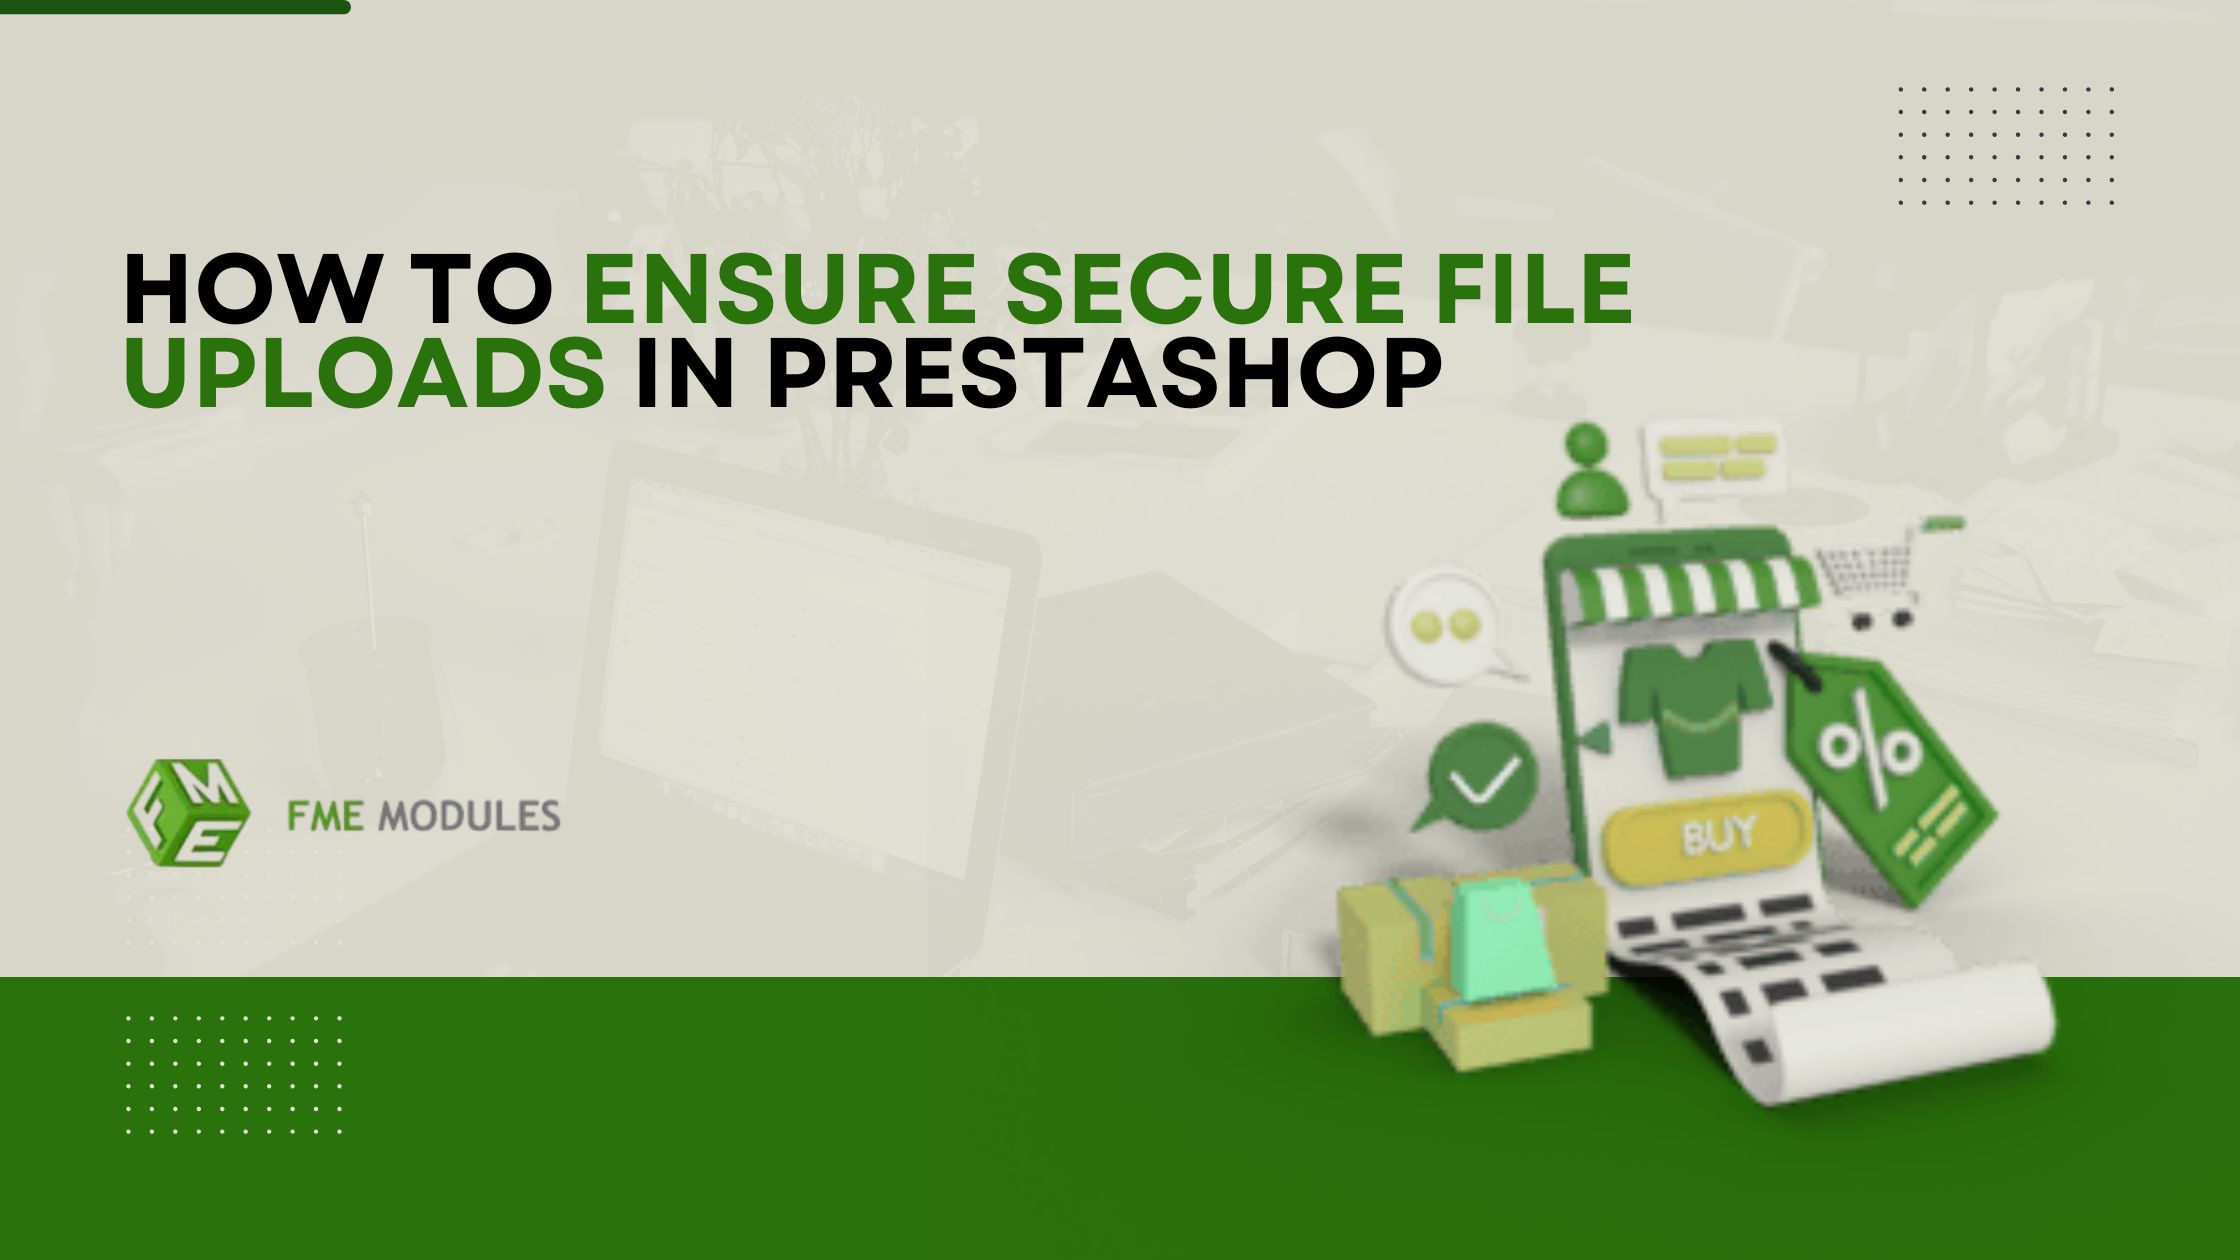 Secure File Uploads in...
This guide explains how to secure file uploads in PrestaShop, covering validation, storage, malware prevention, and...
Dec 8, 2025 Read more
Secure File Uploads in...
This guide explains how to secure file uploads in PrestaShop, covering validation, storage, malware prevention, and...
Dec 8, 2025 Read more -
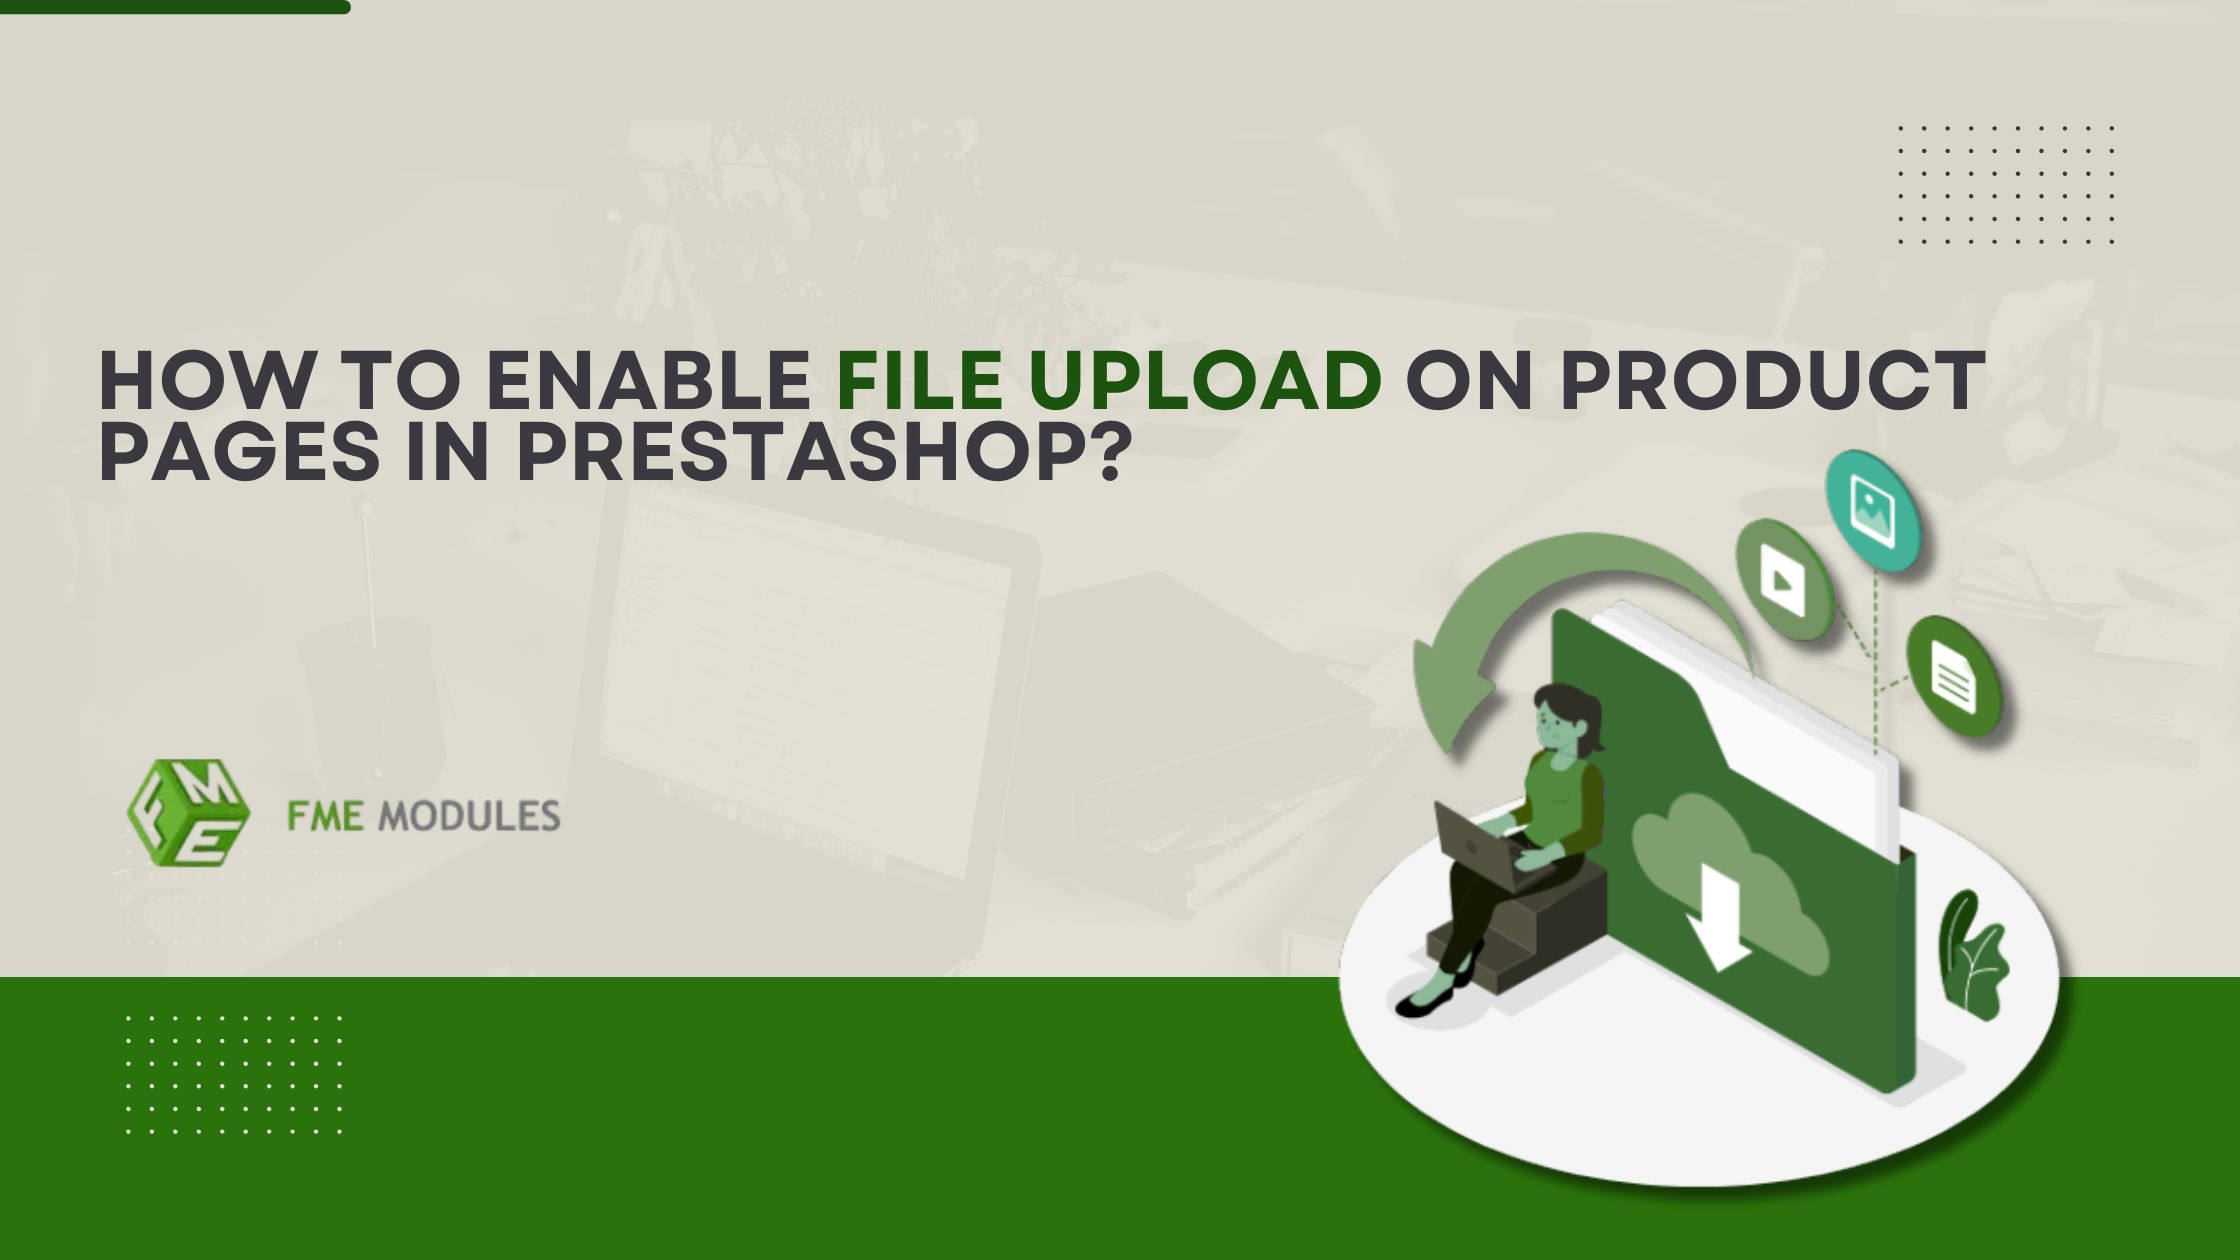 How to Enable File Upload...
This guide shows how to enable file uploads on PrestaShop product pages, helping merchants collect images, PDFs, and...
Dec 8, 2025 Read more
How to Enable File Upload...
This guide shows how to enable file uploads on PrestaShop product pages, helping merchants collect images, PDFs, and...
Dec 8, 2025 Read more

Prestashop Checkout Field - A Complete Guide
Posted On: Aug 8, 2024
Categories: Marketing
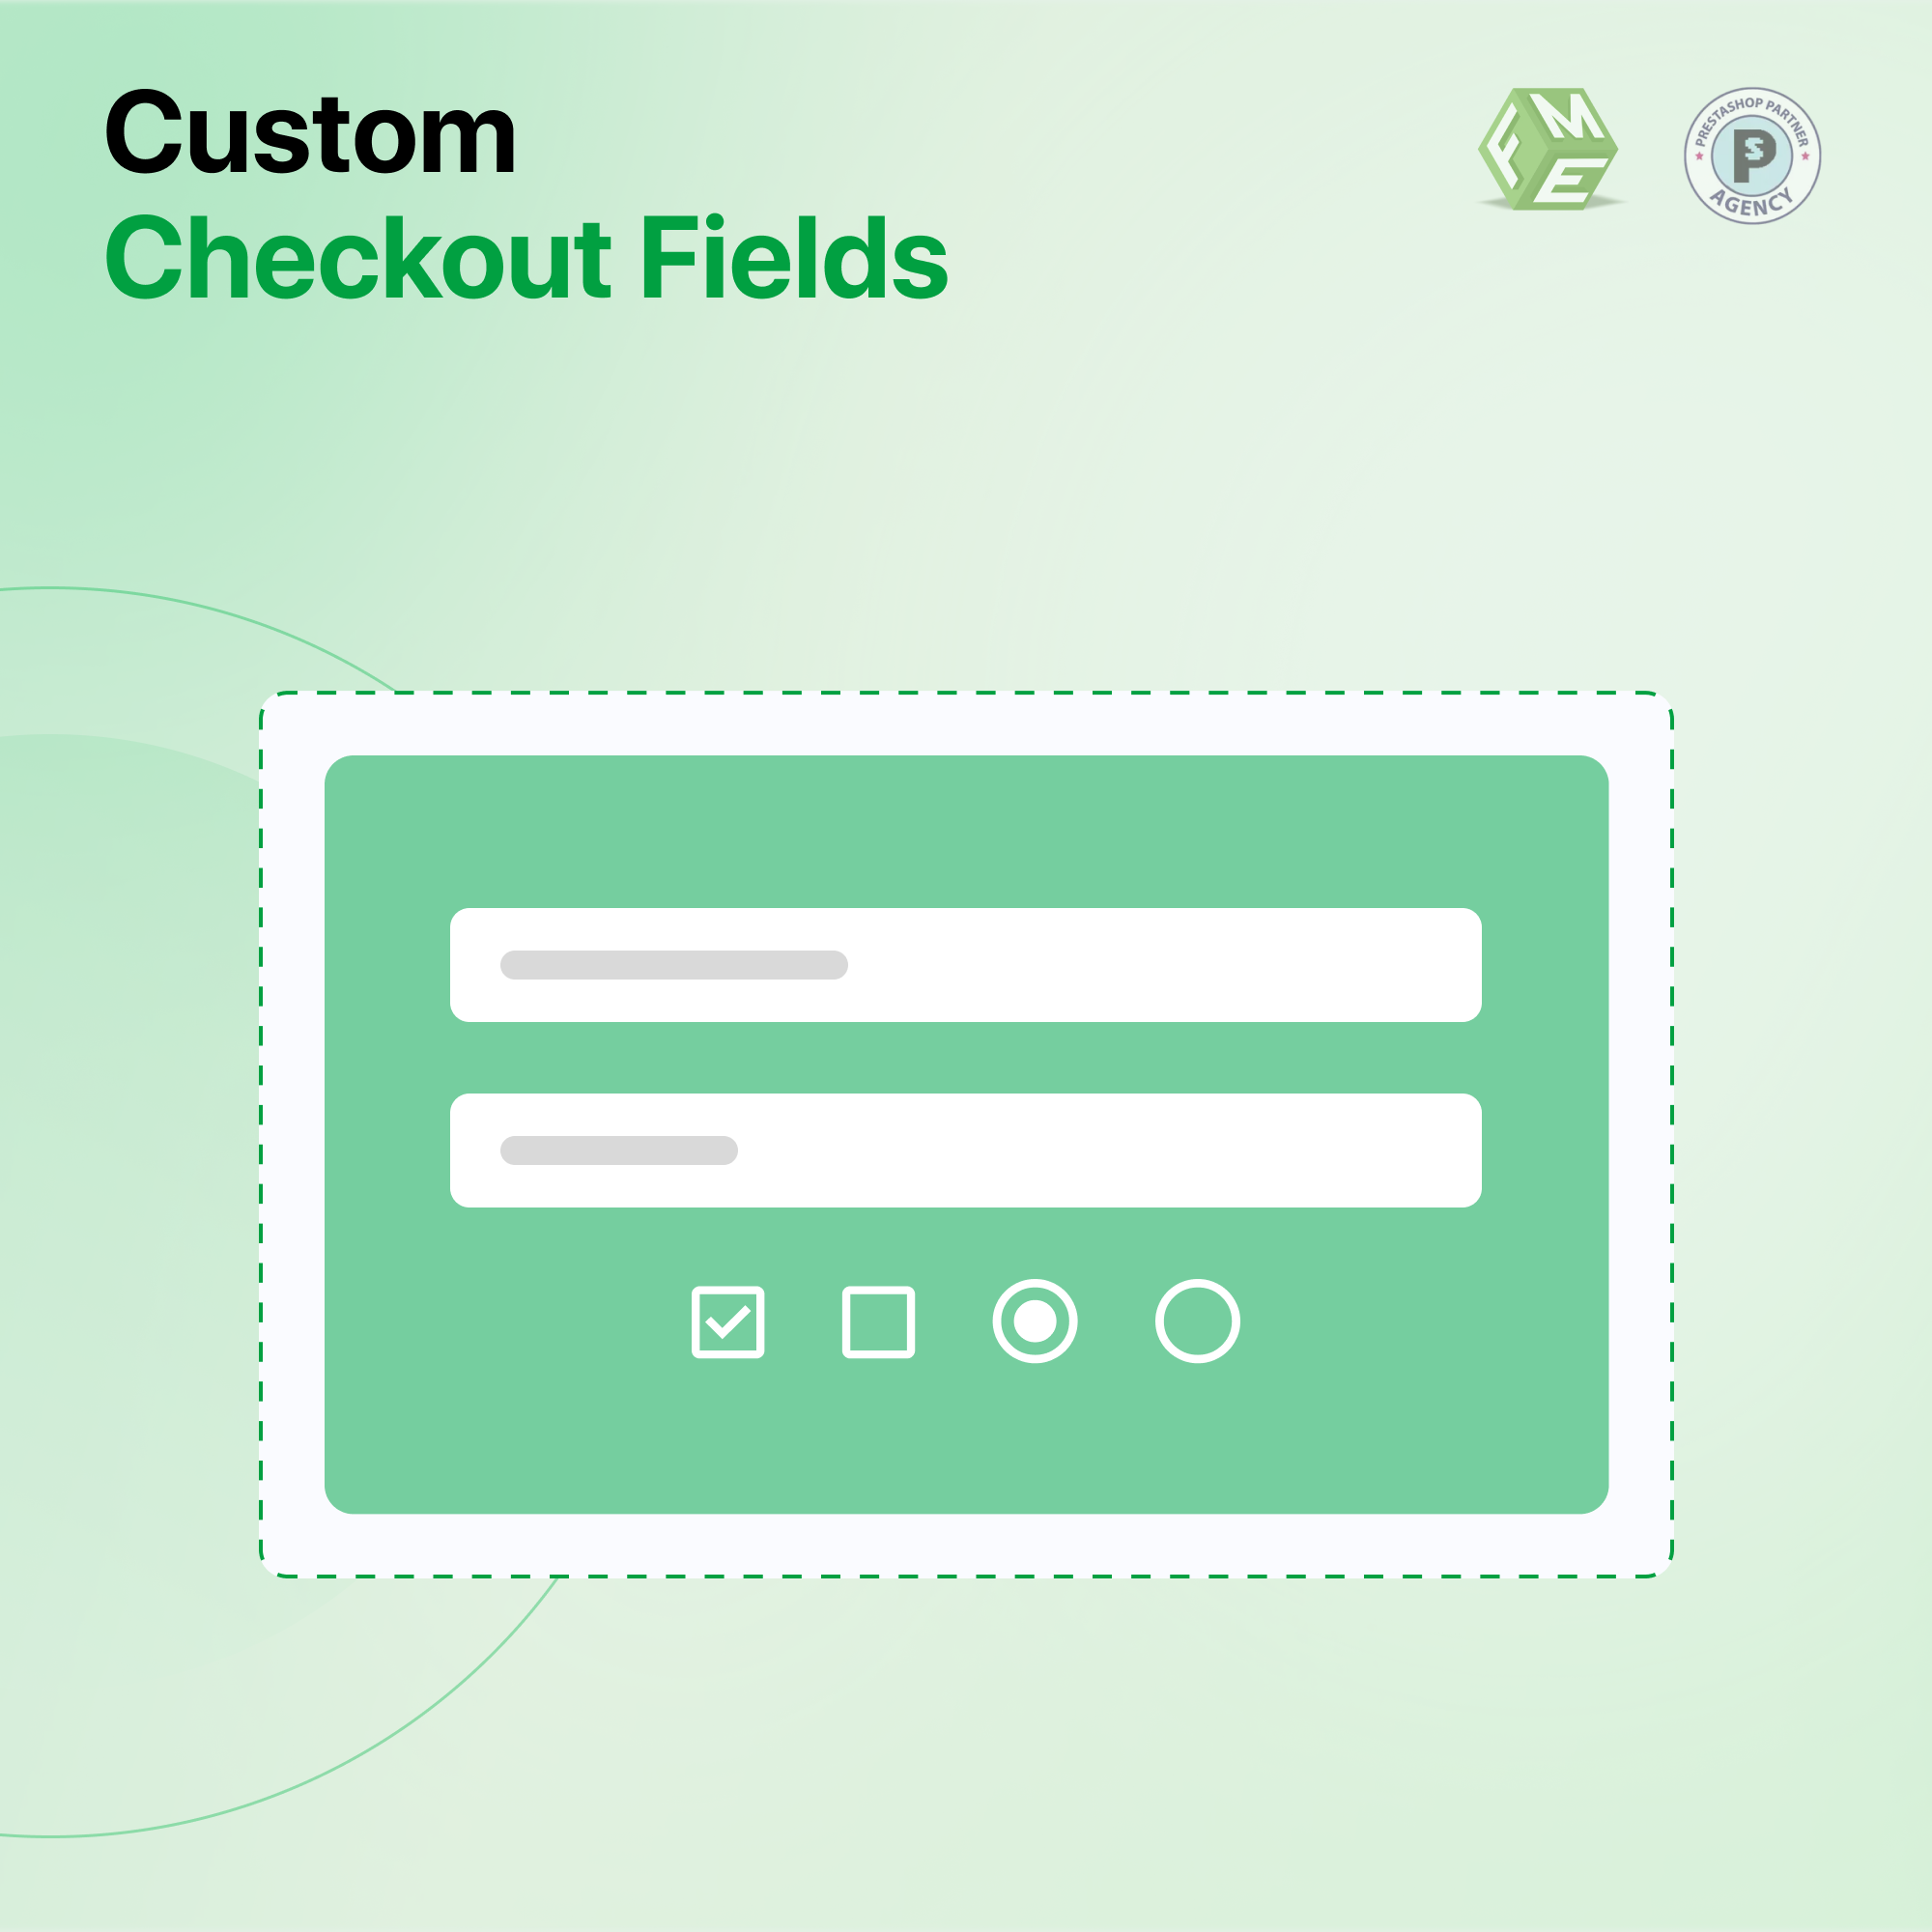
Make your checkout page uniquely yours! With PrestaShop's Custom Checkout Fields module, you can add text boxes, drop-downs, checkboxes, and more to enhance your customers' experience!
Introduction
The PrestaShop Custom Checkout Fields module lets you add new fields to your checkout or order page. This makes the experience more personalized for your customers. You can easily add fields like text boxes, date pickers, yes/no options, multi-select lists, drop-down menus, checkboxes, radio buttons, and messages that only display.
Why Choose Us?
Many shop owners highly trust our PrestaShop Custom Checkout Fields Module. It is one of the top-rated modules on PrestaShop’s Official Marketplace, with over 60 positive reviews and over 3,000 downloads. This means many people have used our module and found it helpful.
A key feature of this module is the support for conditional fields. This means you can set specific fields to show up only when certain products are in the cart. This customization helps smooth the checkout process and ensures you get all the necessary information for each purchase.
By choosing our module, you can trust that you are getting a reliable and effective tool to make your checkout process better.
Click to visit our PrestaShop Checkout Fields Module on PrestaShop’s Official Marketplace.
Why Use Custom Checkout Fields?
The PrestaShop Custom Checkout Fields Module is essential for any online store because it allows you to collect important information from your customers during checkout. This can help you provide a more personalized shopping experience, offer better customer service, and gather the necessary details to process orders efficiently.
By customizing your checkout fields, you can ensure that you get all the information you need, making your store run more smoothly and keeping your customers happy.
Main Features and Benefits
The Prestashop custom fields module for registration is packed with exciting features to empower your store.
Here are the main features of our Custom Fields Prestashop module:
-
Add unlimited fields to the checkout page.
-
Supported field types: text field, multi-select, date, text area, Yes/No, radio button, check box, message-only, and drop-down menus.
-
Automatic validation for field data.
-
Option to set default values for fields.
-
Customizable placement of fields on the checkout page.
-
Conditional fields that change based on customer inputs.
-
File attachment field.
-
Optional or mandatory fields.
-
Display fields based on specific products in the cart.
-
Multi-store support.
Benefits:
-
Enhanced Customer Experience: By collecting more relevant information, you can personalize the shopping experience for your customers.
-
Efficient Order Processing: Gather necessary details during checkout to streamline order processing and reduce delays.
-
Improved Data Accuracy: Automatic validation and default values ensure the information collected is correct and complete.
-
Flexibility: With customizable placements and conditional fields, you can tailor the checkout process to fit your store’s needs perfectly.
-
Compliance: Compatibility with the Prestashop GDPR Module helps ensure that your data collection practices comply with data protection regulations.
How to use it:
-
Personalized Recommendations: Use the additional data collected to offer personalized product recommendations in future communications.
-
License Verification: If you sell products that require a license, you can easily collect and verify this information during checkout.
-
Customer Feedback: Use checkboxes and radio buttons to gather customer feedback on their shopping experience or product preferences.
-
Document Collection: For businesses that need additional documents, like ID verification or custom agreements, the file attachment feature is invaluable.
-
Targeted Data Collection: Show specific fields only when certain products are in the cart, ensuring that you only collect necessary information related to those products.
Checkout Field Module Guide
The purpose of this user guide is to provide our customers with a comprehensive and easy-to-follow resource for installing, configuring, and managing the Advance Custom Checkout Fields Module. Our goal is to make the process as simple as possible, ensuring you can take full advantage of the module's features to enhance your online store's checkout experience.
What's included?
This user guide covers all aspects of using the PrestaShop Custom Checkout Fields Module, including:
-
Detailed installation instructions
-
Step-by-step configuration guidance
-
Managing custom fields effectively
-
Utilizing dependable fields
-
A general overview of the module’s features and benefits
Guide Format:
The guide is structured in a clear, step-by-step format, divided into specific sections for easy navigation:
-
Installation: Instructions on how to install the module on your PrestaShop store.
-
Configuration: Guidance on setting up and configuring the module to fit your store’s needs.
-
Manage Custom Fields: How to create, edit, and manage custom checkout fields.
-
Use Dependable Fields: Instructions on setting up conditional fields that change based on customer input.
-
General Overview: An overview of the module’s features, benefits, and use cases.
Installation Instructions
1. Log into the PrestaShop administration panel, go to Modules → Click Add new module.
2. Select customfields.zip which you downloaded and click Upload this
3. Module.
4. Scroll down find Custom Product Design and click Install. You are done
5. Clear Cache in Advance Parameters → Performance.
6. Module will add an extra Tab Link in Back Office Edit Product and you will see the tab on left.
7. Preview of the customized product will be shown with the order on the order detail page.
User Guide
How to Configure the Module:
At the back office, go to “Module & Services” and click on the “Installed Modules” tab. Here you will find your module. Click on “Configure” to continue.

Here you will find the following settings:
Configuration
-
Custom Fields Main Heading
-
Show Fields on PDF Invoice: Display custom fields in the PDF invoice Page.
-
Show Fields on PDF Delivery Slip: Display custom fields in the PDF Delivery Slip page.
-
Show Fields in Customer Email: Fields will be shown in the order confirmation email sent to the customer.
How to Add/Manage Custom Fields:
Step 1: At the back office, go to “Manage Custom Fields”. Here you will find all the fields. Click on “+ Add New Field” to continue.

Step 2: Here you can add your fields’ information.
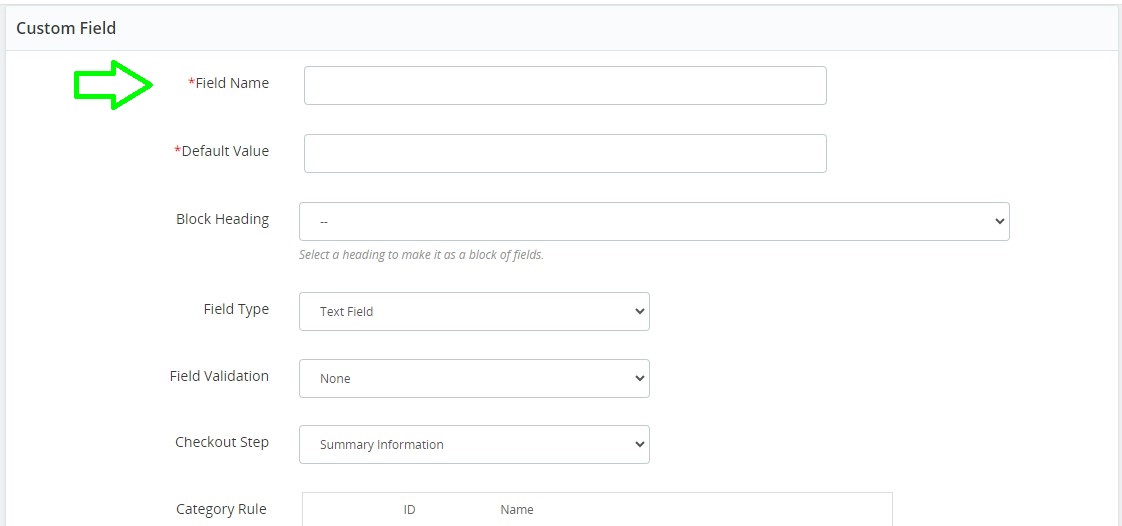
-
Field Name
-
Default Value: This will be the default value for this field
-
Block Heading: Select the block in which you want to show this field. More on that later
-
Field Type: Select the type for this field. There are the following field types:
-
Text Field
-
Text Area
-
Date
-
Yes / No
-
Multiple Select
-
Dropdown
-
Checkbox
-
Radio Button
-
File Attachment
-
Message
-
Field Validation: This allows you to see if the data entered into this field is in the correct format. If you select “Date” here, the user will only be able to add a date in this field.
-
Checkout Step: Select on which checkout step you want this field to appear.
-
Category Rule: If you want to show this field for specific categories only, then select those categories here.
-
Product Rule: If you want to show this field for a specific product only, then select that product here.
-
Select Group: If you want to show this field to a specific customer group only, select that customer group here.
-
Editable: If enabled, the user will be able to edit the data later.
-
Values Required: Option to make this field mandatory.
-
Show in Customer Account: If enabled, the field will be visible in the user account on the frontend.
-
Show in Admin Order:
-
Field Status:
-
Dependent Field: Option to make the field dependent. More on this in the next step.
Step 3: Now, at the front end, your field will appear as shown below. You can always go back and edit this information.
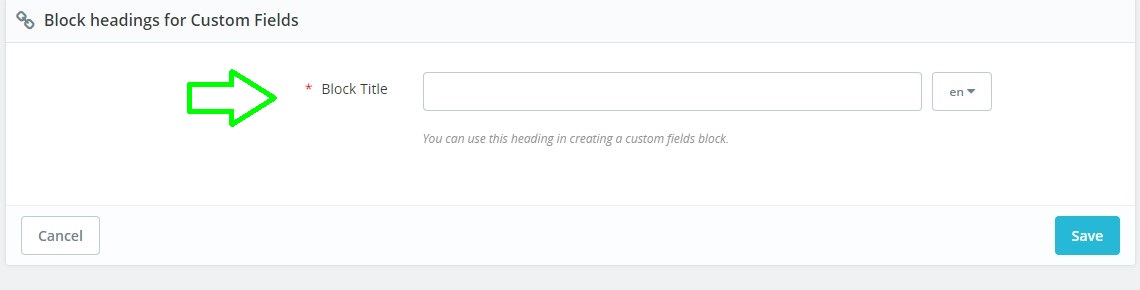
Custom Field Headings:
At the back office, go to “Custom Field Headings”. Here, you will find all the headings created. Click on “+ Add New Heading” to continue.

Add Custom Field Heading:
Admin can create multiple field headings to use at the front end.
How to Use Dependable Fields
Dependable fields are those fields where the input option is dependent on what the user selects. See the image below for more clarification.
-
Next, select the field on which the current field will be dependent.
-
Then, select the dependent field value.
Now, your current field will only appear if the customer selects the “1.7.x.x” option in the “Favorite Prestashop version” option.
Disclaimer
-
It is highly recommended to back up your server files and database before installing this module.
-
No responsibility will be taken for any adverse effects occurring during installation.
-
It is recommended that you install on a test server initially to carry out your own testing.
Support
- If you need more information or have any questions or problems regarding custom fields in PrestaShop, please refer to our support helpdesk.
- You can log a ticket, and a support technician can assist you further.
Customization
If you have requirements not covered by our module and need to have our module customized, feel free to contact us through the support helpdesk.
Conclusion
Prestashop Custom Checkout Field Module lets you add 10 custom fields at checkout to gain more customer insights. By thoroughly knowing your customers, you can devise a better strategy, gain more customers into your pool, and promote your brand image. Get the Prestashop Custom Checkout Fields Module today and take your business to the heights it was destined to reach!
Frequently Asked Question
How do I add a custom field during the checkout process in PrestaShop?
Use the module designed for custom fields or add custom code to the checkout template.
How can I move or modify checkout fields in PrestaShop?
Edit the checkout template files or use a module with drag-and-drop functionality.
What checkout options are available in PrestaShop?
Options include guest checkout, one-page checkout, and multi-step checkout, configurable in the back office.
How do I remove fields from the checkout page in PrestaShop?
Remove fields by editing template files or using a module that allows field removal.
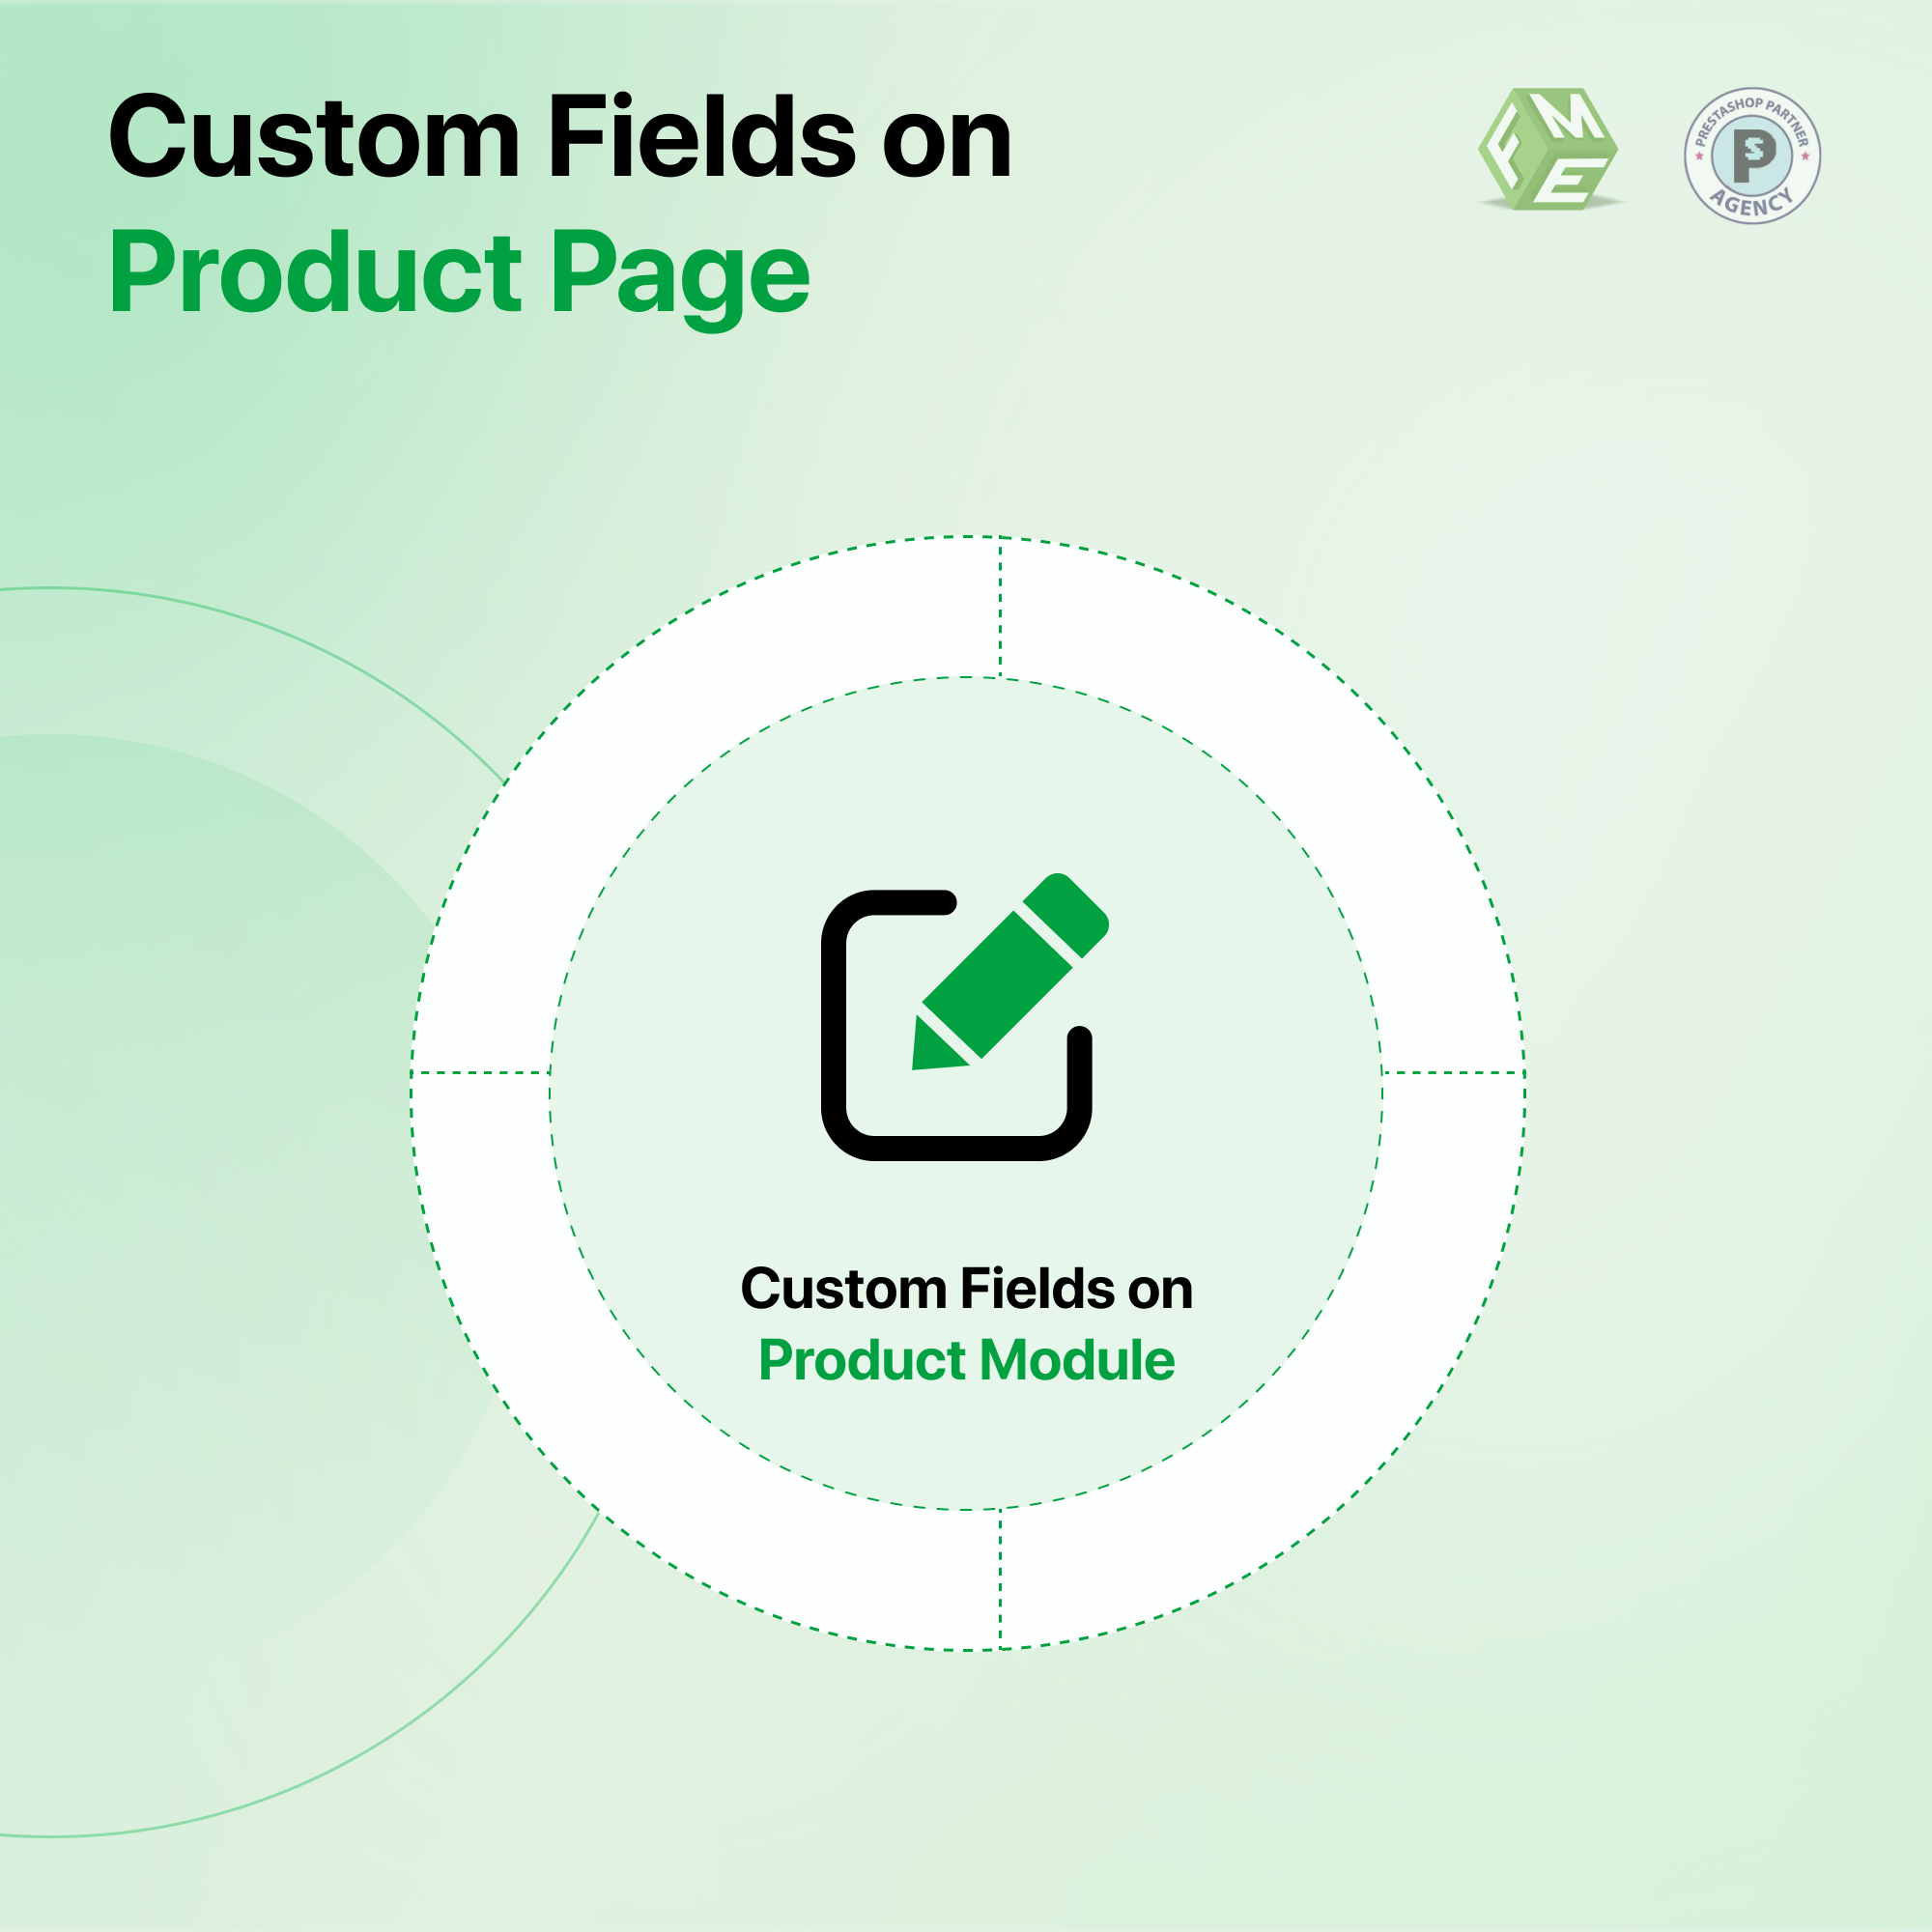
How do I add custom fields to the product page in PrestaShop?
Use a module for custom fields or manually add fields through code.
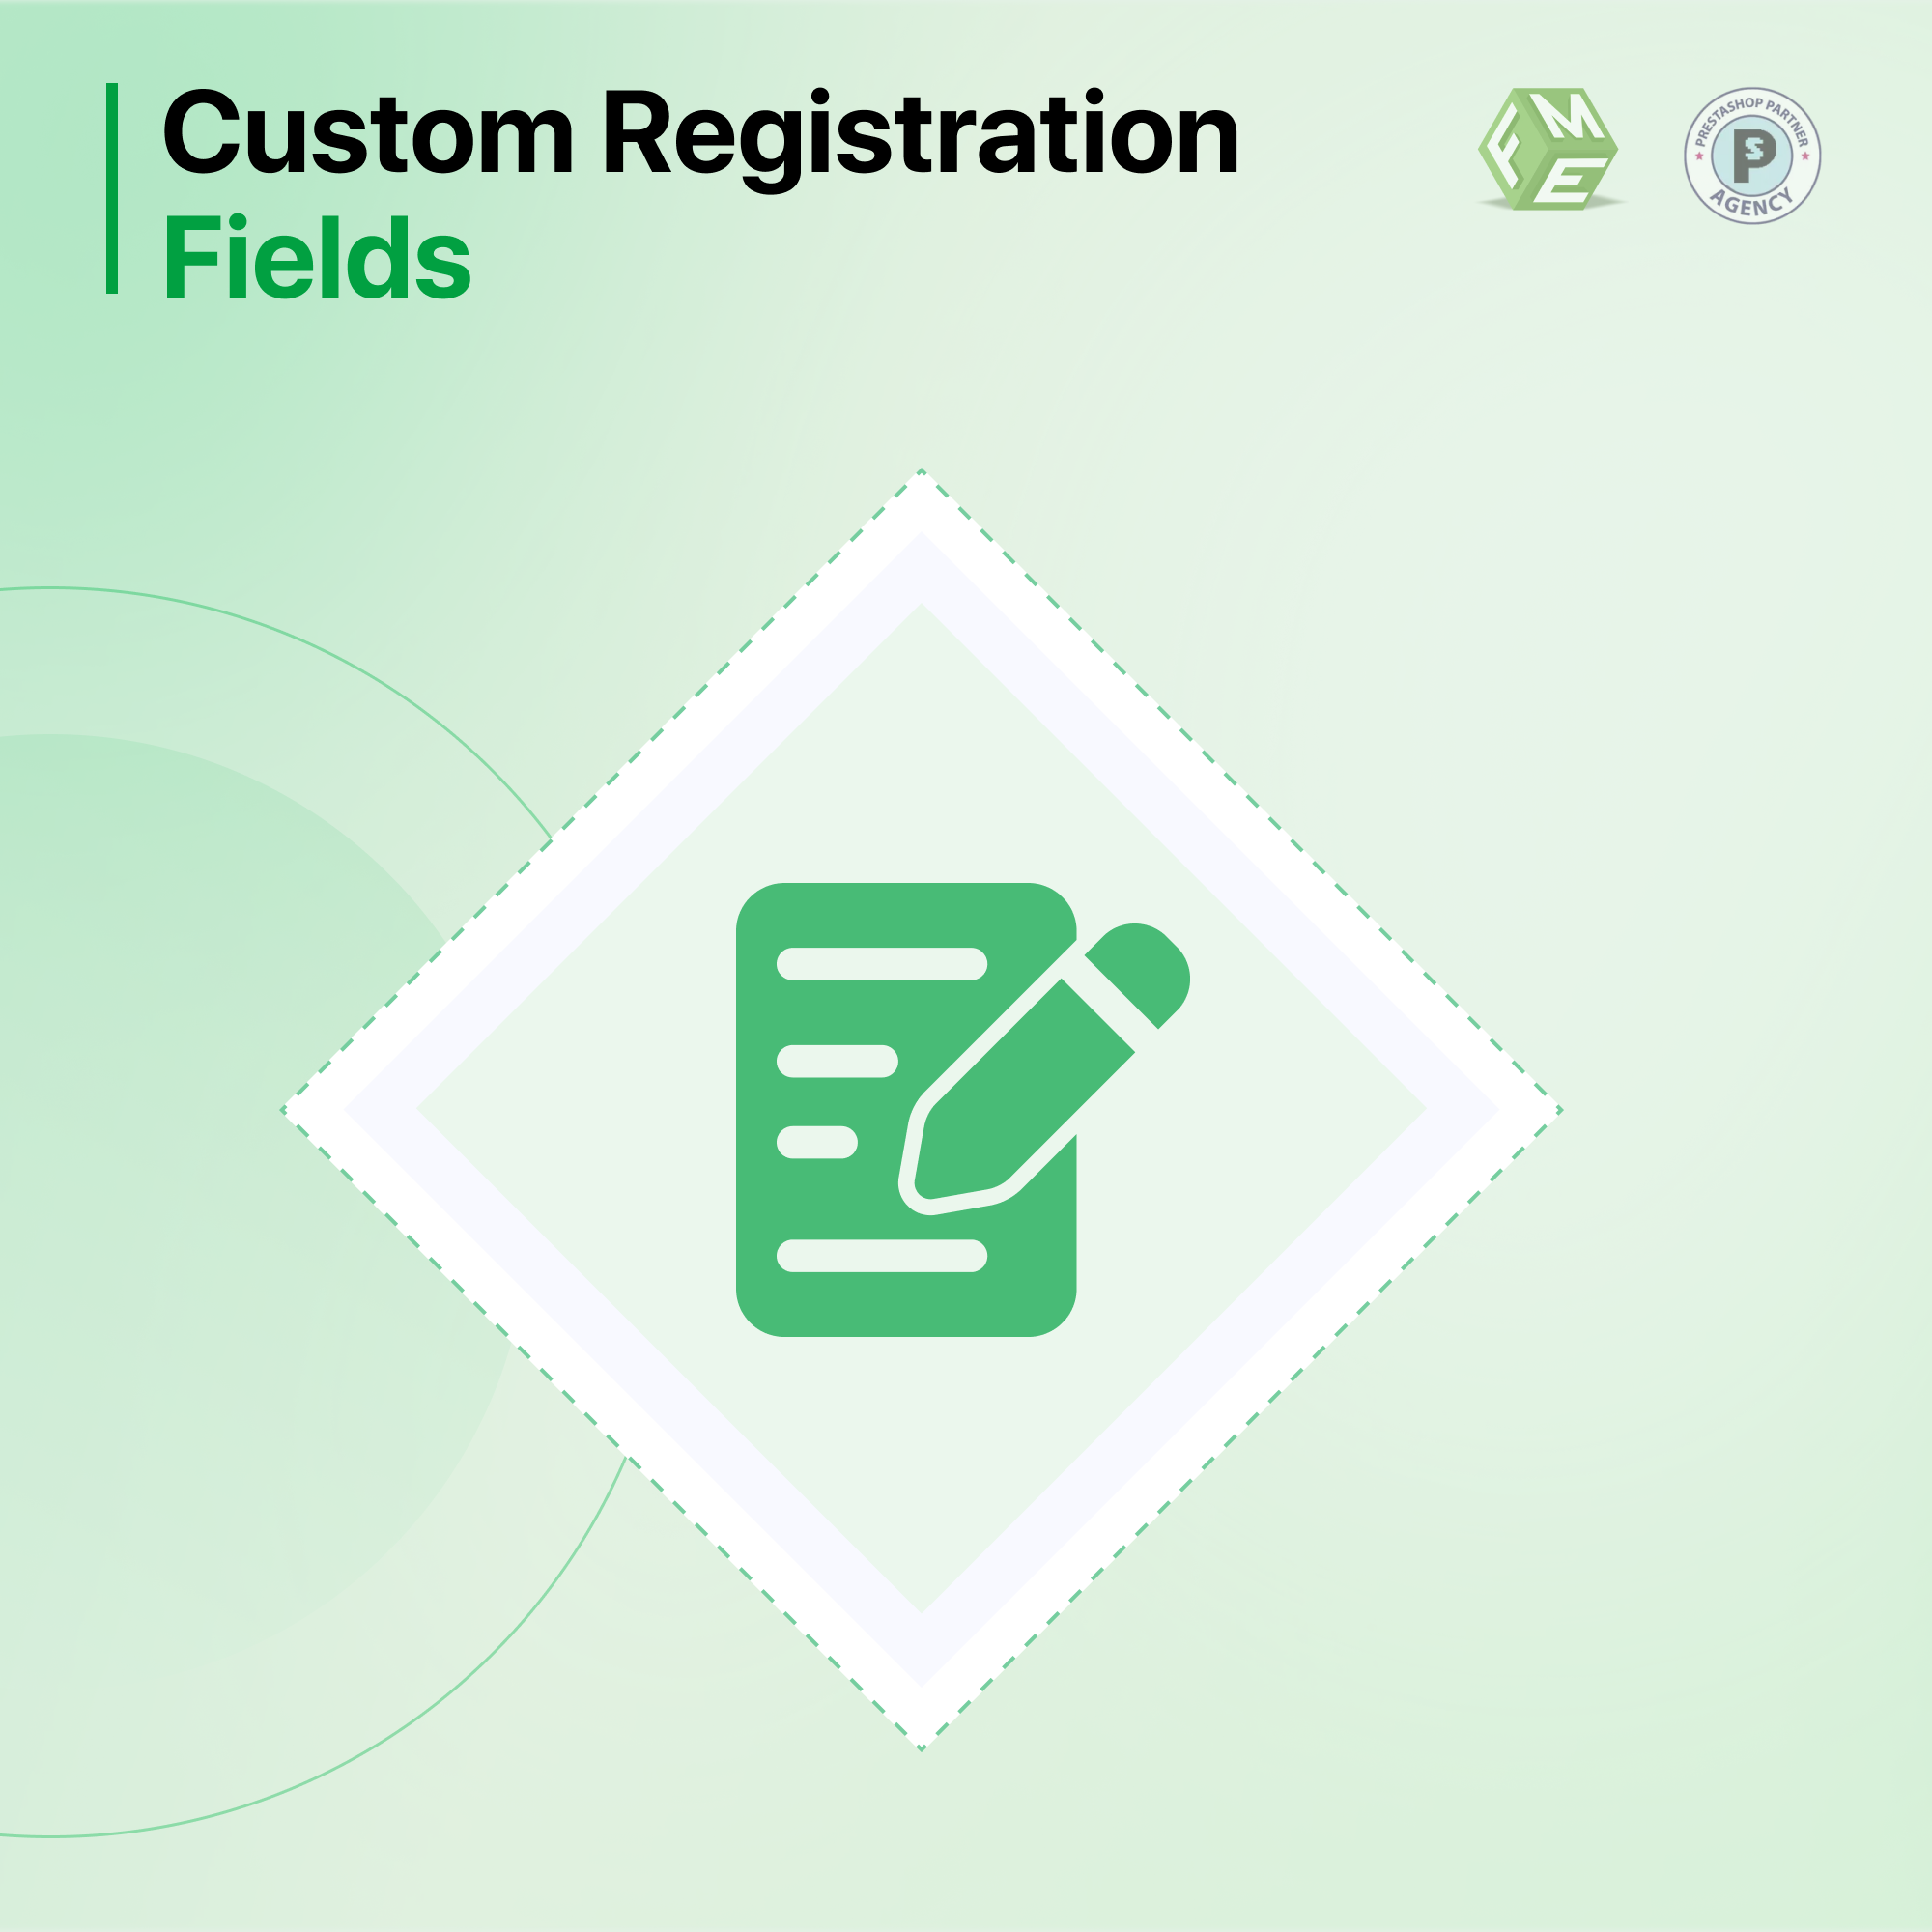
How can I add a custom field to the registration form in PrestaShop?
Use a module like “Customer Attributes” or edit the registration template files.